

Hello I'm YGY and this And This is
03 LOVE-O-METER measure how hot-blooded you areBefore you really think I'm retarded you must know that this stupid name come directly from the author of the manual, they try to sell this kit also to the school, and reading this name makes me think that they never go to school.
Here a rare image of some teenager studying and working at school with this kit:

Back to the explanation, in this chapter they introduce the analog sensors and analog pin of the Arduino Uno board.
Arduino has a Analog-to-Digital Converter (ADC) built in, and pin from A0 to A5 are analogics and can report back a value between 0 and 1023, which maps a range from 0V to 5V.
The analogic sensor you'll use for this project is a temperature sensor, more precisely an TMP36 by Analog Device , pay attention to the datasheet when you built the circuit, because if you "invert" the sensor you can have a bad time, like me (thus explaining the picture at the top) because I invert the ground and the 5V of the sensor and when I try the project I literally burn my finger, I'm stupid I know now go further.
Another thing you must know before start to play with analog sensor is the fact which in the Arduino's IDE there is a tool called "Serial Monitor" that enables you to report back result from the microcontroller.
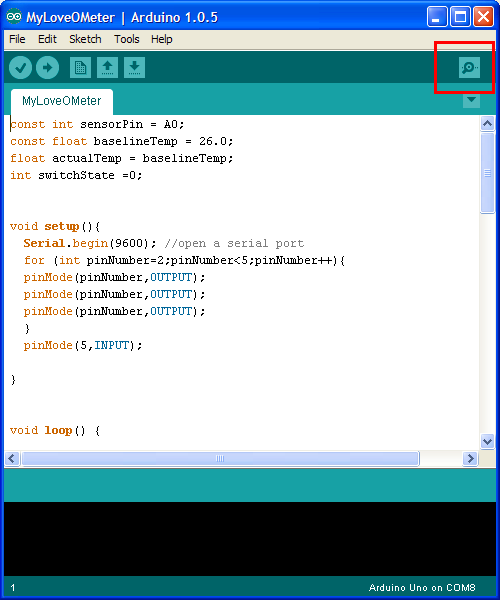
In picture above: the red square is the button to open Serial Monitor.
In the picture below the schema of the circuit.

As you can see, slowly I'm learning how to use EAGLE.
In the code section in this chapter they introduce some command for interact with analog pin:
Serial.begin(), analogRead(), Serial.print() and Serial.println().
Serial.begin() open a connection between the Arduino and the computer, so you can see the value from analog input on Serial Monitor.
Syntax: Serial.begin(bitxSec)
Where bitxSex is the speed in bit per second at which Arduino will communicate, 9600 is the standard, you can see this speed on the Serial Monitor.
analogRead() is a function to get the value from the analog pin. It return an int value.
Syntax: int analogRead(pin)
Where pin is the number of the analog pin which you want read.
Serial.print() and Serial.println() send informations from the arduino to a connected computer, that you can see into its Serial Monitor.
Syntax: Serial.print(char str) / Serial.println(char str)
Where str is the information you'll print on the Serial Monitor, the difference between print() and println() is only the fact that the second after print on the Serial Monitor go to a new line, instead print continue on the same line.

In the code you must instantiate the button as INPUT in the setup() function.
In the loop() function you must read from this pin, digitalRead() , if the value is HIGH you recalibrate.
For recalibrating in the Arduino site there is a tutorial, I use something similar:
switchState = digitalRead(5);The formula for calculate the temp from the sensor value come from the Manual, but if you really feel skilled you can obtain by yourself from the datasheet of the component.
if (switchState == HIGH) {
//the button is pressed, resetting the value of the baseline.
actualTemp = (((analogRead(sensorPin)/1024.0) * 5.0) - .5) * 100; //calc the temp
Serial.print("ActualTemp after pressing button: ");
Serial.println(actualTemp);
if (actualTemp > baselineTemp) {
actualTemp = baselineTemp;
}
}
well, for today it's over. Sorry no pic of the board this time.
Ygy Freezone
No comments:
Post a Comment